Bill
When the company receives a bill from a vendor for goods receipt, follow the steps below:
Step 1:
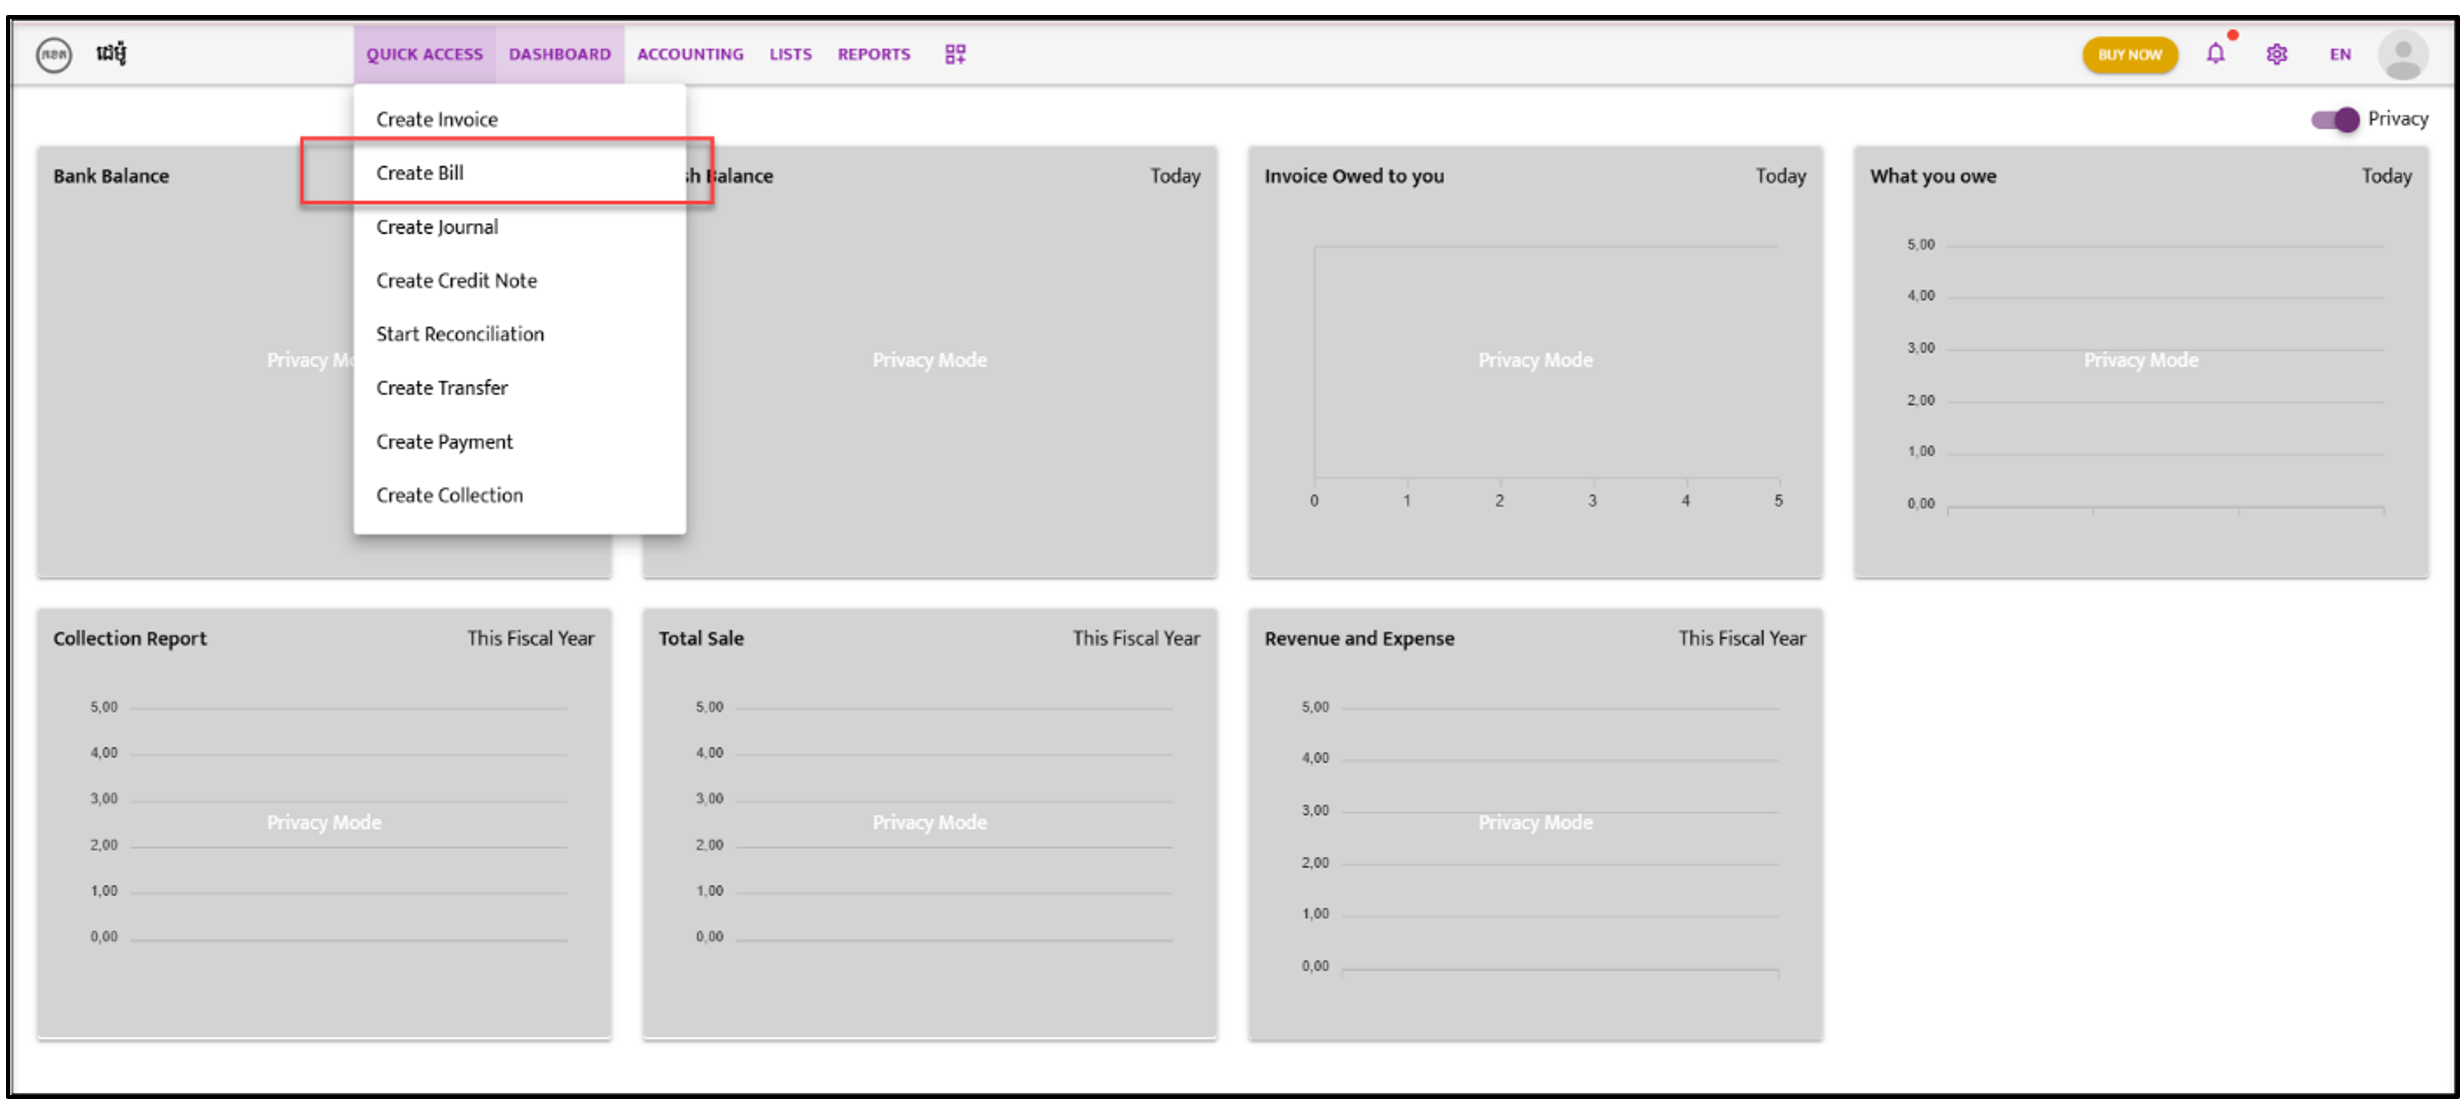
Section titled “Step 1:”Navigate to “Quick Access”. A dropdown list will appear; select “Create Bill”.
Step 2:
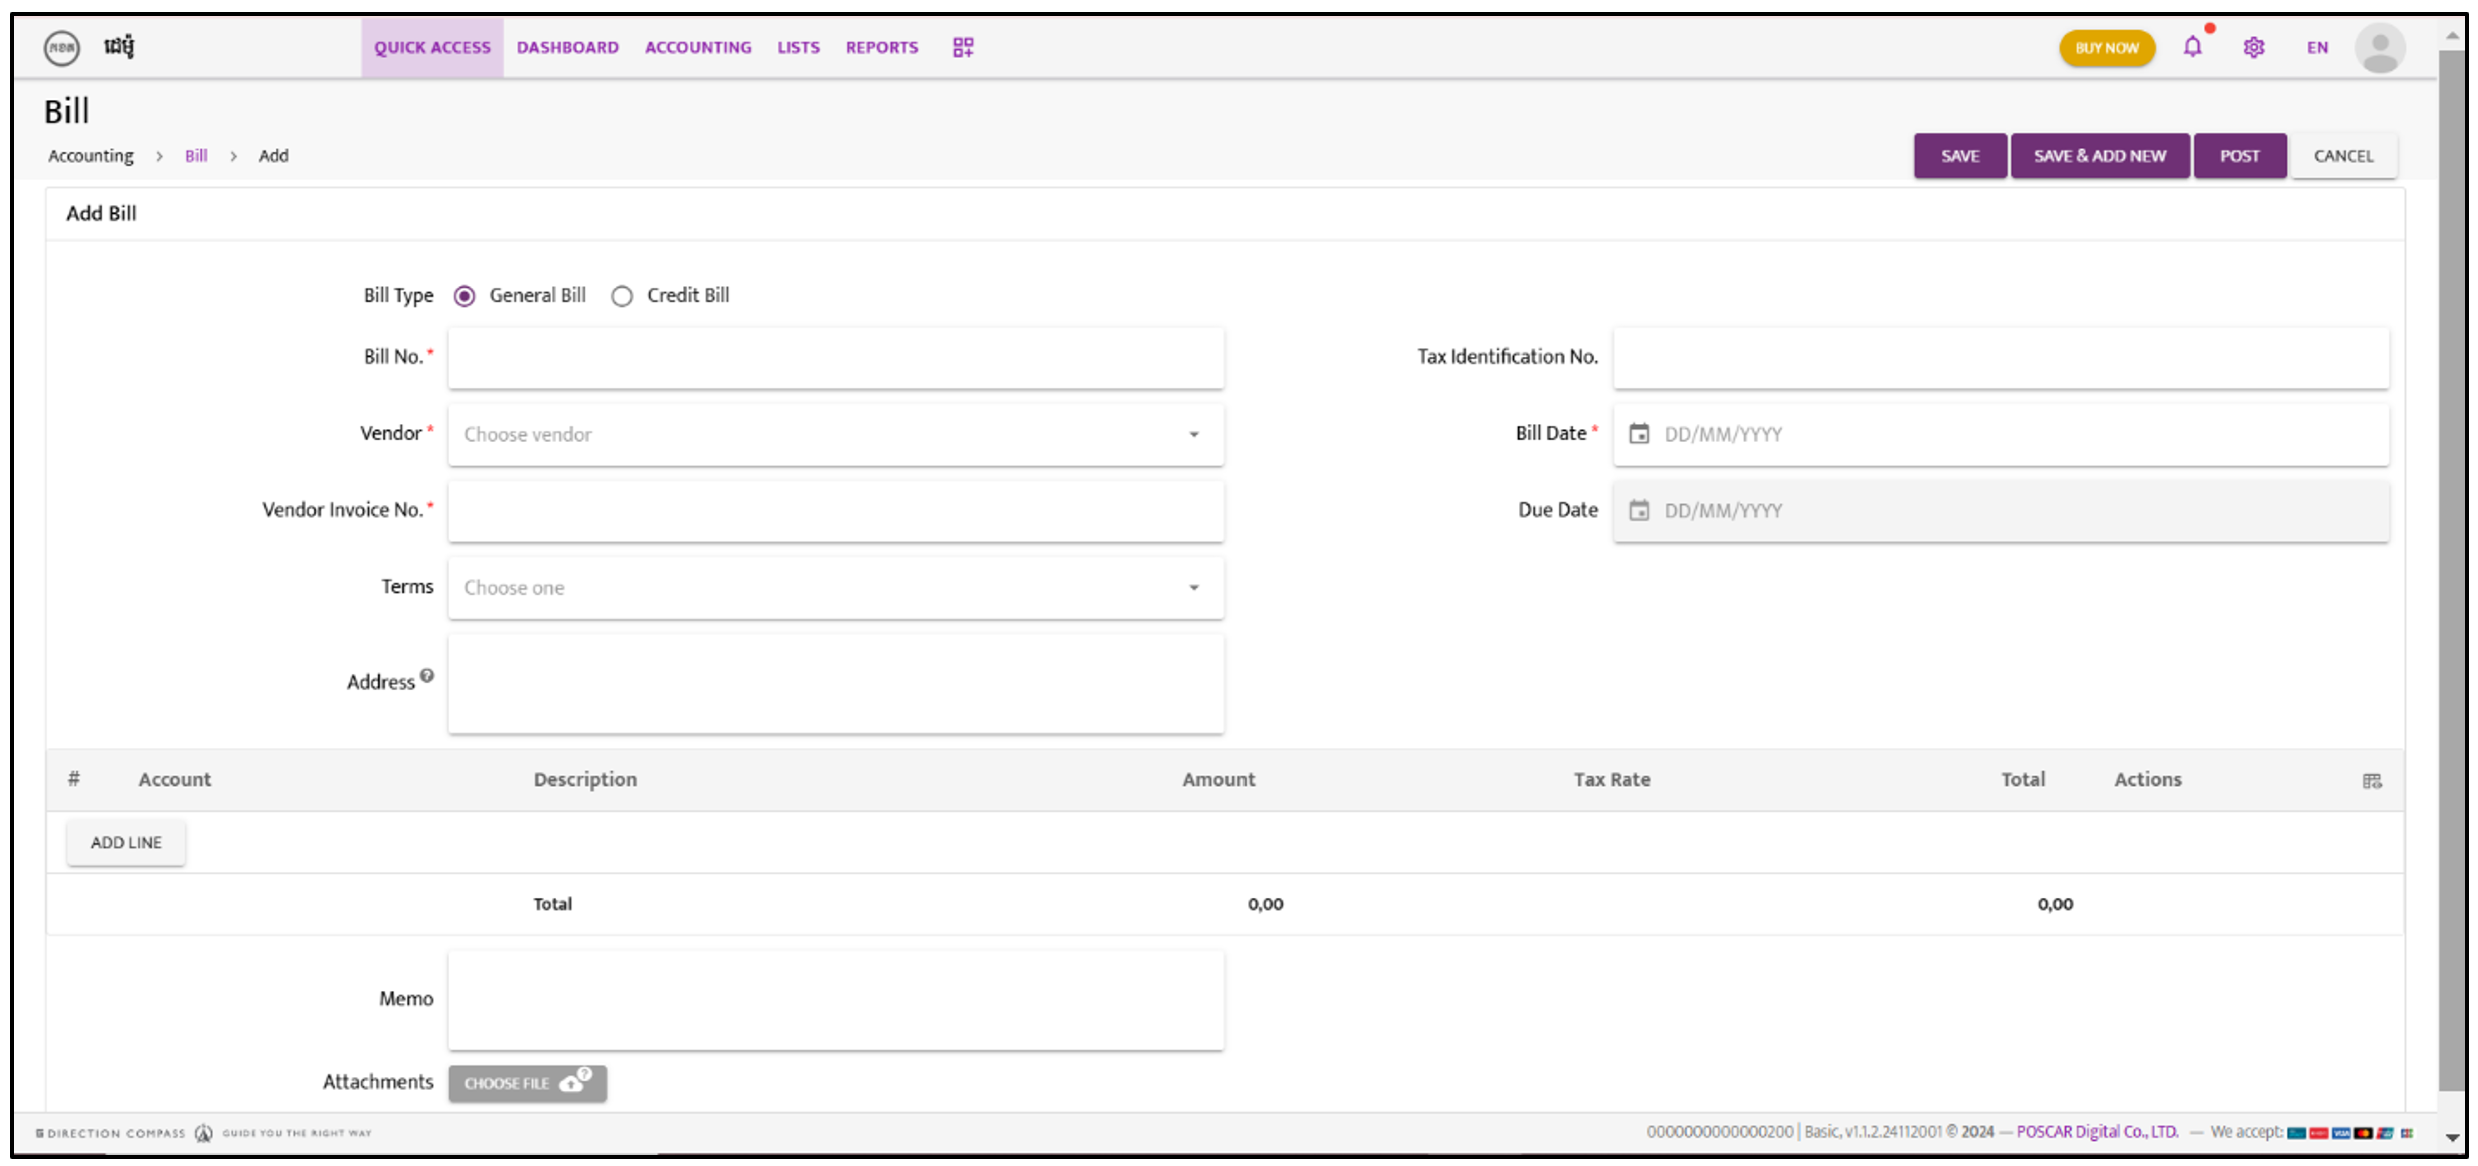
Section titled “Step 2:”The Bill screen will appear. Select either “General Bill” or “Credit Bill”.
Step 3:
Section titled “Step 3:”Fill in the Bill Reference Number and Vendor Name from the dropdown list.
Step 4:
Section titled “Step 4:”Complete the required information as shown in the snapshot below.
Step 5:
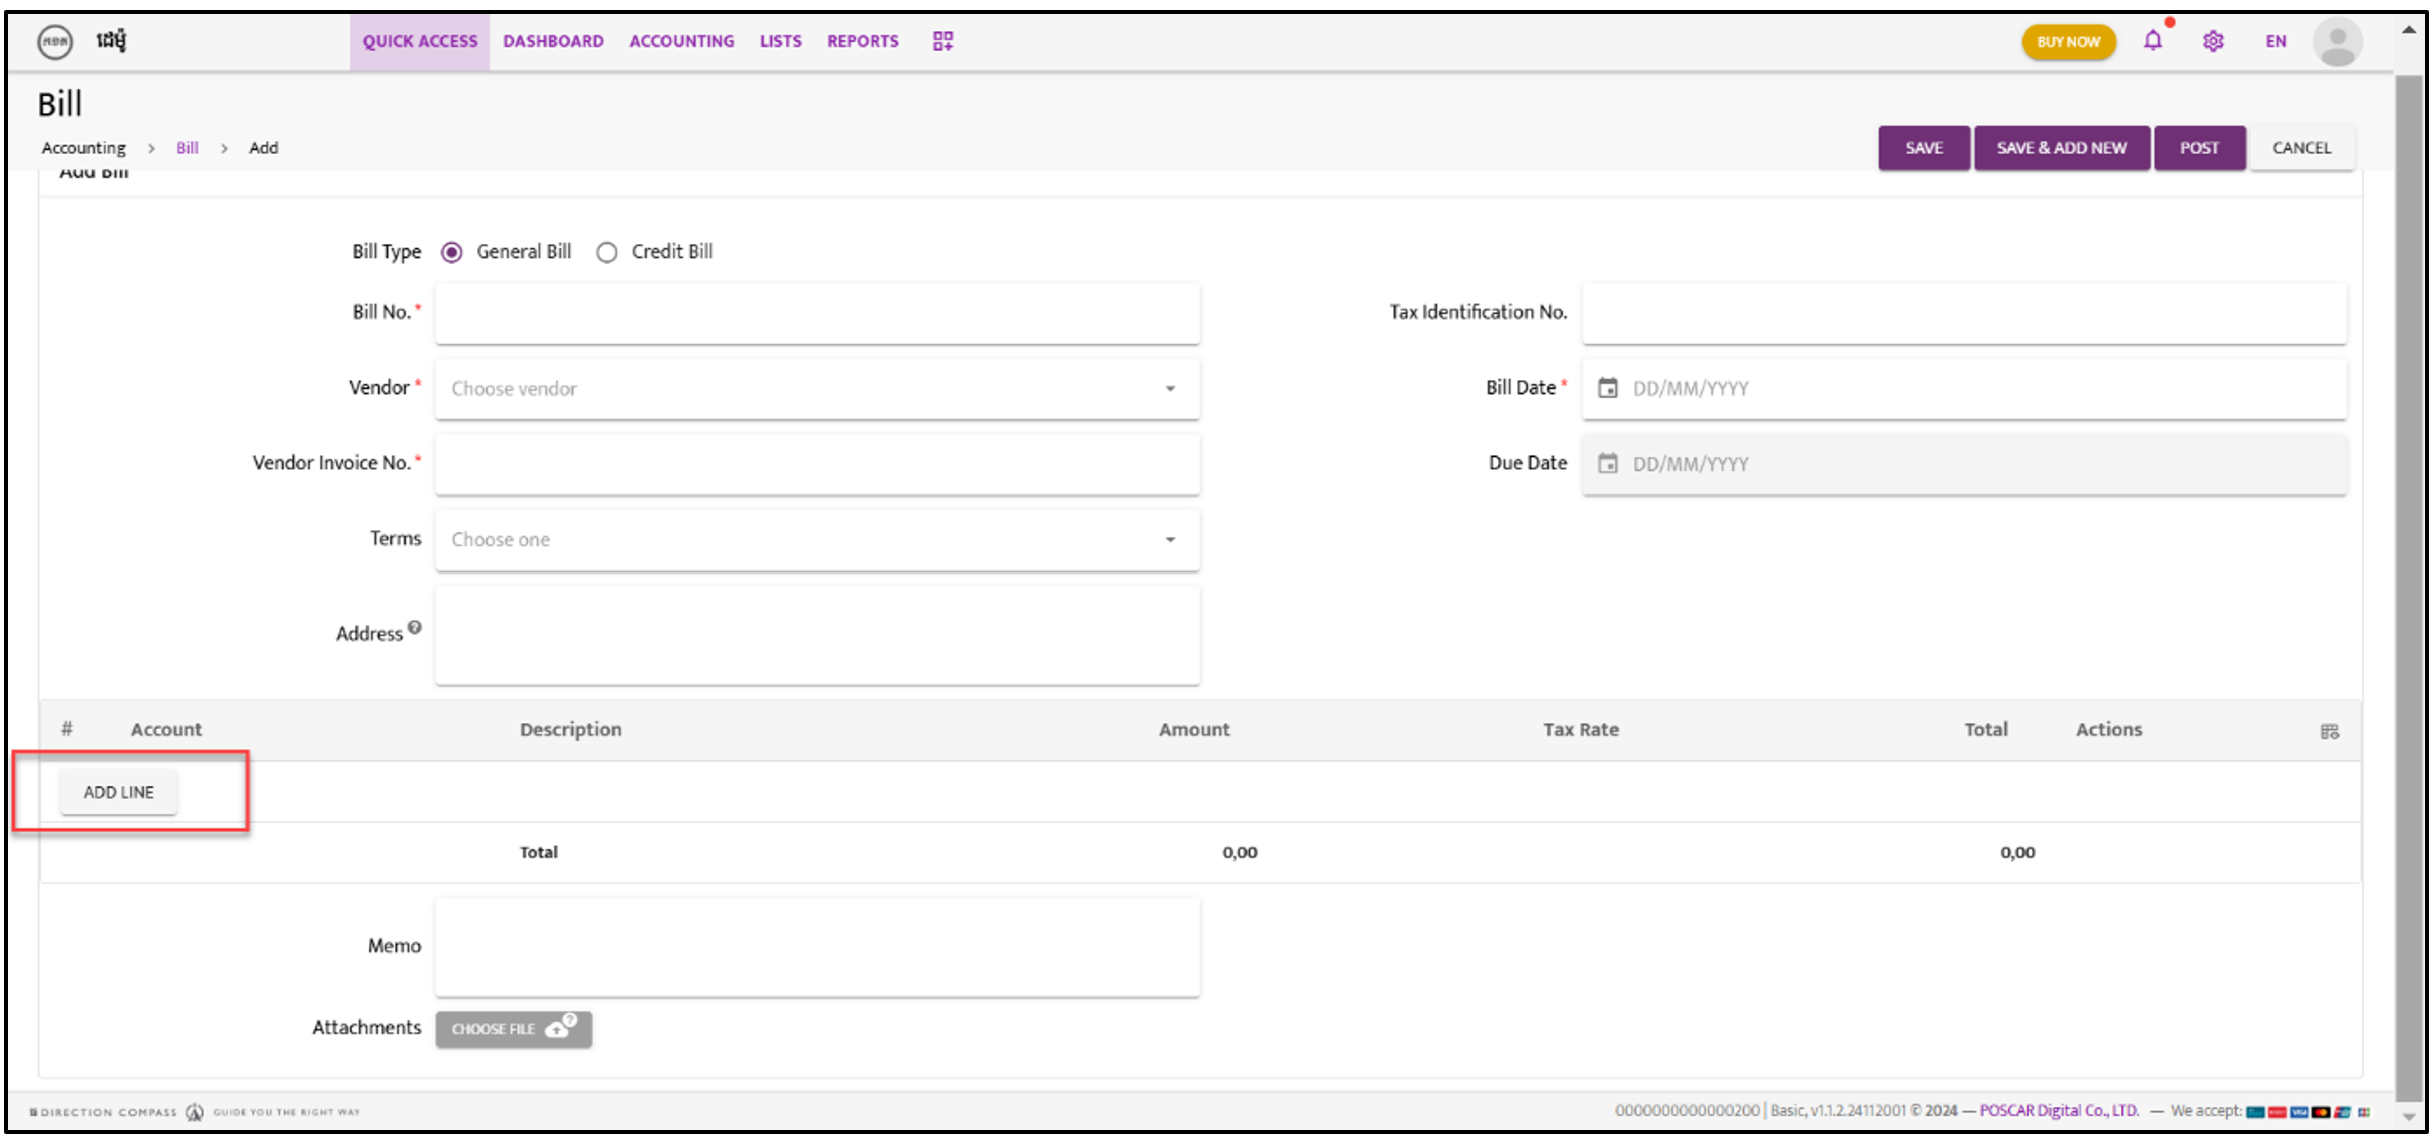
Section titled “Step 5:”Click “Add Line”.
Step 6:
Section titled “Step 6:”Click “Choose one” to select the account. Then, fill in other details, such as the Description, Amount, and additional information.
Step 7:
Section titled “Step 7:”Choose either “Save,” “Save & Add New,” or “Post” to complete the action.
Step 8:
Section titled “Step 8:”After saving or posting, the Bill list will appear. Click on the “Action” icon and select “Approve” from the dropdown list.